
Yes, you can create salon-quality ombré nails at home, and the method you pick depends on how long you want it to last. A makeup sponge gives you a quick fade in under an hour with regular polish, gel or dip powder gets you two to three weeks of wear, and chrome powder over a no-wipe top coat produces a mirrored gradient unlike anything from a bottle. Start with the tools and prep below, then move to whichever technique matches your plans.
TL;DR:
- Proper nail preparation, including buffing, cleaning, and applying a light base coat, is essential for maximizing the durability of home ombré nails.
- The sponge method allows quick application within 30-45 minutes and provides a natural fade that lasts 5 to 7 days with regular polish or up to three weeks with gel.
- Dip powder ombré offers longer wear of two to three weeks and can be achieved with tip fade or blended color techniques, requiring careful powder application.
- Chrome ombré delivers a mirror-like finish but necessitates curing a no-wipe top coat and applying chrome powder with pressure, while UV lamp safety awareness remains limited.
- To maintain longevity, reapply thin top coats every 3 to 4 days, use cuticle oil regularly, and remove gel or dip nails with acetone rather than peeling.
Table of Contents
- Tools and nail prep you need before starting
- Step-by-step sponge ombré for beginners
- Dip powder ombré: two ways to build the fade
- Chrome powder ombré for a mirror finish
- Fixing patchy blends, sponge marks and muddy colors
- Timing, aftercare and safe removal
- What Foxy Nails does differently, and when to book a pro
- A practice-first approach to learning ombré
- Sources
- FAQ
Tools and nail prep you need before starting
Every ombré method, no matter which one you choose, starts with the same foundation. Skipping prep is the fastest way to end up with polish that lifts within two days.
You will need these basics for any method:
- A nail file, buffer and cuticle pusher to shape and prep the nail bed.
- Alcohol or a nail cleanser to remove oil so polish grips properly.
- A quality base coat and top coat.
- A makeup sponge, liquid latex or painter’s tape, and a palette or wax paper for the sponge method.
- An LED or UV lamp, no-wipe top coat, dip powders with activator, and a silicone applicator or nitrile glove for gel, dip and chrome techniques.
Push back cuticles, buff any shine off the nail plate, and wipe each nail with alcohol before applying anything. Starting with a white or other light base coat matters more than most people realize: it makes the gradient more visible and cuts down on how many layers you need to build a visible fade, according to TheBeautyFoodie.
Step-by-step sponge ombré for beginners
The sponge method is the fastest way into ombré and works with polish you probably already own.
- Prep nails and apply a light base coat, then let it dry fully.
- Paint two or three polish colors in stripes directly onto a makeup sponge, overlapping the colors slightly where they meet.
- Dab the sponge onto the nail using a bouncing, patting motion (never drag it) to transfer color without smearing.
- Reload the sponge and repeat, building the gradient in thin layers rather than one heavy pass.
- Wait 20 to 30 seconds between passes so each layer sets before the next goes on, a timing cue that NailMoodBoard says helps prevent streaking and patchiness.
- Clean up the skin around the nail with an acetone-dipped brush, then float on two thin coats of top coat.
A full set with regular polish takes about 30 to 45 minutes and typically lasts 5 to 7 days, while a gel-based version can stretch to 2 to 3 weeks, according to wikiHow. For gel, work in smaller batches since you need to cure each layer under the lamp before adding the next, which slows the process but locks in the fade.
Pro Tip: Dampen the sponge slightly before loading polish. It reduces how much color the sponge absorbs and gives you a cleaner transfer to the nail.
Dip powder ombré: two ways to build the fade
Dip powder holds up longer than polish and gives you two realistic paths to an ombré look. The classic tip fade dips just the tip of the nail into progressively darker shades, while the bounce or sprinkle method blends multiple colors across the whole nail for a softer, speckled gradient.
- Prep the nail and apply a base or activator coat as your dip system directs.
- Dip the tip into your first color, tapping off excess powder.
- Move up the nail, dipping into the next shade so the colors overlap slightly at the transition point.
- Repeat with each additional shade, working from lightest to darkest or vice versa.
- Apply activator to seal the powder, then buff gently to smooth the surface and remove thin spots.
- Finish with a crystal clear top layer and a glossy top coat.
Buff carefully at the point where colors meet, since that’s where lifting and thin spots most often start. Dip ombré typically holds up for two to three weeks with proper care, similar to gel.
Pro Tip: Tap off excess powder between dips. A heavy hand at the transition point is the main cause of bulky, uneven fades.
Chrome powder ombré for a mirror finish
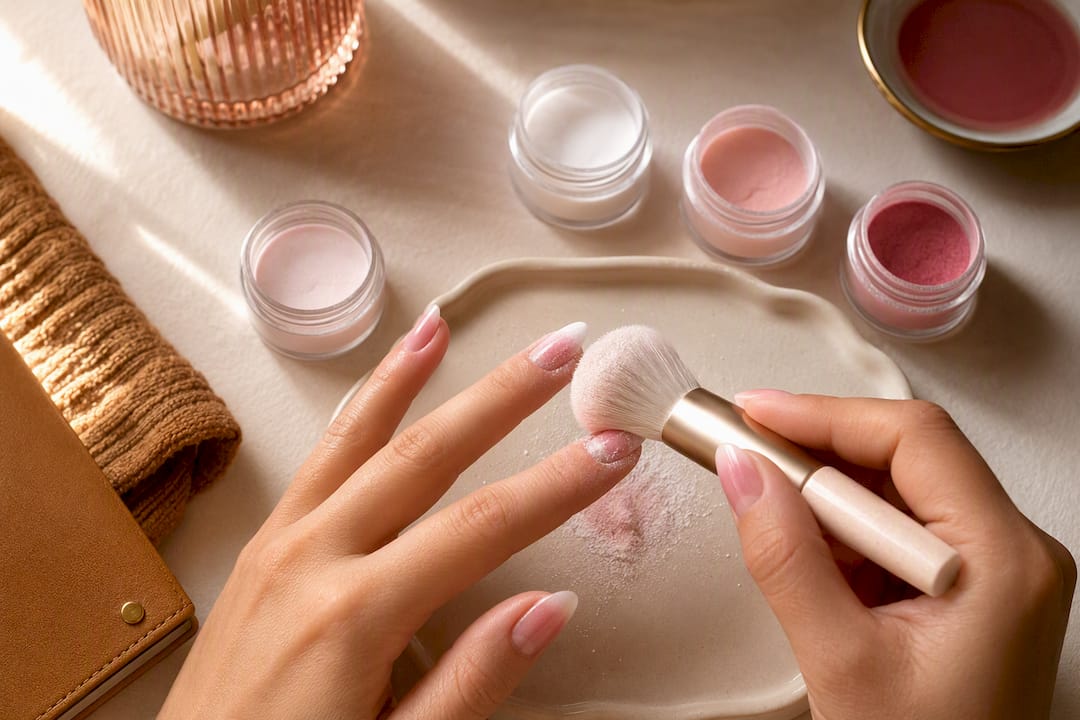
Chrome ombré looks nothing like polish or dip because the pigment reflects light like liquid metal, but it only adheres properly to a cured, no-wipe top coat.
- Apply your gradient base first (sponge, gel polish or dip), then cap it with a no-wipe top coat and cure fully under an LED or UV lamp.
- Rub chrome powder into the tacky top coat using a silicone applicator or a gloved finger, focusing more pressure and pigment near the tip for a gradient chrome effect, a technique detailed by Nailpro.
- If pickup looks patchy, wipe the cured top coat lightly with alcohol before reapplying powder, which often solves adhesion issues.
- Seal with a very thin layer of top coat and cure briefly. A thick seal coat will dull the mirror effect instead of protecting it.
A study reviewing 563 commercial UV lamp products found that only 0.7% included any safety information, and just 10.1% listed adverse event details, according to research published on PMC. That gap means most people overestimate how much guidance comes with the lamps they use at home. Cumulative UV exposure carries low per-session risk, but wearing sunscreen on your hands and limiting total lamp time are reasonable precautions, and our guide to UV nail lamp safety breaks down what the research actually supports.
Fixing patchy blends, sponge marks and muddy colors
Most ombré failures trace back to one of four problems, and each has a quick fix.
- Patchy or uneven blends usually mean the sponge wasn’t reloaded often enough. Build the fade in thin layers and pick colors with similar undertones so gaps are less noticeable.
- Muddy, grayish color where shades meet often comes from pairing high-contrast colors directly. Add a middle shade as a bridge between the two.
- Visible sponge texture means the top coat went on too thick or too fast. Float two thin coats instead of one heavy one, or lightly dampen the sponge next time.
- Polish flooding the cuticle happens when the sponge is overloaded. Use less product per dab, and protect the skin with liquid latex or tape before you start.
Timing, aftercare and safe removal
A few habits separate a fade that looks salon-fresh for two weeks from one that chips by day three.
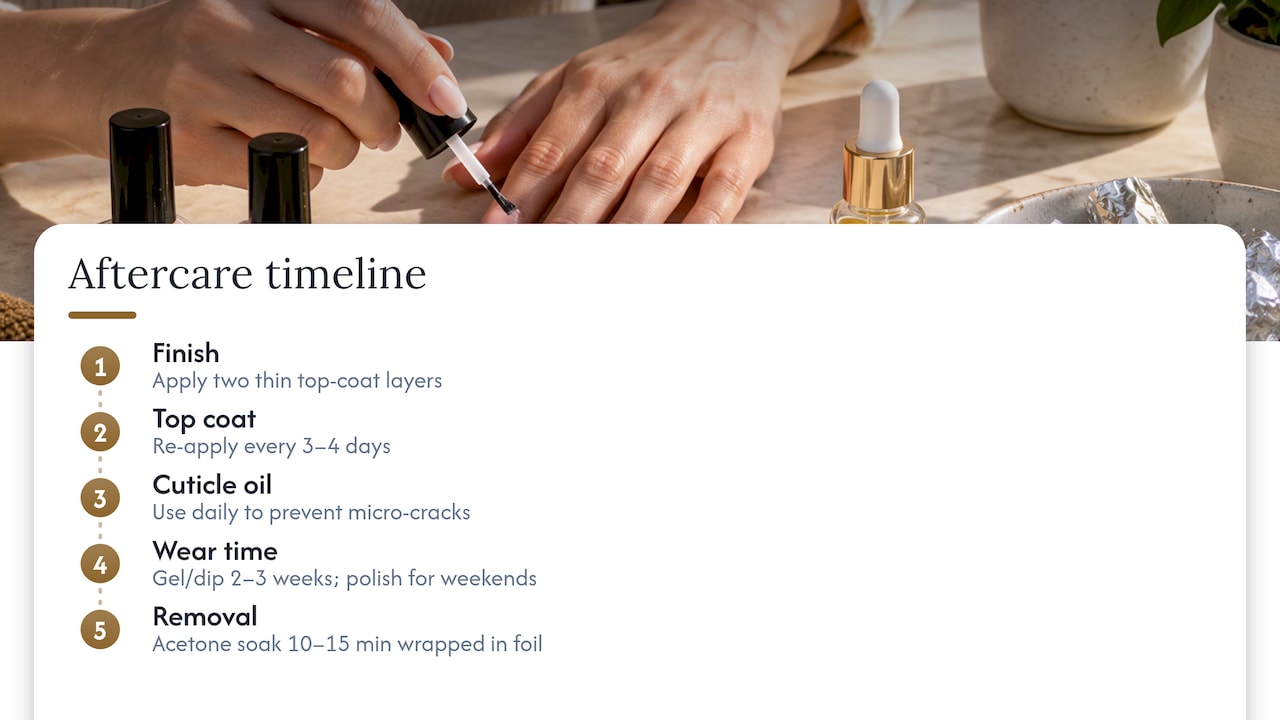
Apply two thin top-coat layers rather than one thick one to avoid smearing the gradient underneath. Re-apply top coat every 3 to 4 days to extend wear, and use cuticle oil daily to prevent the micro-cracks that lead to peeling. If you want a look that lasts 2 to 3 weeks, choose gel or dip; if you’re doing this for a weekend event, regular polish is simpler to remove and reapply.
Pro Tip: Soak gel and dip powder off in acetone rather than peeling them. Peeling strips layers off your natural nail plate and weakens it over time.
Regular polish comes off with standard remover. Gel and dip require an acetone soak, usually 10 to 15 minutes wrapped in foil, before the product loosens enough to slide off.
What Foxy Nails does differently, and when to book a pro
Salon techs get cleaner fades mostly through discipline: capping every tip fully, buffing between layers instead of only at the end, and never rushing the reload step on the sponge or dip container. Dipping powder, gel, and chrome-capable finishes are available as professional service options, applied with disciplined prep and layering techniques.
If you’re testing the look for the first time, a DIY sponge ombré is a fine place to start. For an event, a complex chrome fade, or wear that needs to survive two to three weeks without touch-ups, booking a dipping powder service saves you the trial and error.
A practice-first approach to learning ombré
Start with a simple two-color sponge ombré before touching dip powder or chrome. The dabbing motion takes a few tries to feel natural, and two colors are easier to judge than four. Once that fade looks even, move to dip for durability or chrome for the mirror effect. For special occasions that call for more precise ombré, professional services for dip and chrome styles can ensure a polished finish. Practice on one hand, compare it to a reference photo, then repeat the same two nails until the transition looks smooth.
— Cuong
Sources
- Study on UV lamp product safety – PMC
- How To Do Ombre Nails: Step-by-step sponge method – NailMoodBoard
- How to use chrome powders and application techniques – Nailpro
FAQ
How do you do ombre nails step by step?
Prep the nail with a light base coat, then apply two or three polish colors in stripes onto a makeup sponge and dab them onto the nail in thin, overlapping layers. Let each layer tack for 20 to 30 seconds before adding the next, then seal with two thin top-coat layers, a sequence detailed by wikiHow.
What are the best colors to use for ombre nails?
Colors with similar undertones blend most smoothly, and a lighter or white base coat makes the gradient more visible while requiring fewer layers, according to TheBeautyFoodie. Pastels, nudes and soft jewel tones tend to transition cleanly, while very high-contrast pairings can look muddy where they meet.
Are ombre nails still in style?
Ombré remains a recurring nail art style rather than a passing trend, with variations like reverse ombré, vertical fades and glitter blends keeping it current. It works well for both minimalist looks and seasonal color palettes.
What is the difference between ombre and gradient nails?
The terms are generally used interchangeably to describe a color transition across the nail, whether that’s tip to cuticle, side to side, or diagonal. Some people reserve “gradient” for softer, more blended transitions and “ombré” for a more defined two- or three-color fade, but there’s no strict industry distinction.
How long do ombre nails last?
Regular polish ombré typically lasts 5 to 7 days, while gel-based versions hold up for 2 to 3 weeks, according to wikiHow. Dip powder ombré falls in a similar range to gel when applied and sealed correctly.