Minimalist nail art is a restrained, high-impact manicure built from one precise element instead of many: a hairline stripe, a sliver of negative space, or a single micro dot placed just so. It has become the dominant 2026 manicure direction because it borrows from quiet luxury and the “clean girl” aesthetic that Vogue has tracked closely across social platforms. What follows is a save-ready gallery of ideas you can screenshot or show your nail tech, plus quick DIY steps and a straightforward checklist for when a salon visit like one at Foxy Nails beats doing it yourself.
Key Takeaways
Minimalist nail art works because it relies on precise execution of one element rather than volume, which is why prep and technique matter more than product count.
| Point | Details |
|---|---|
| Pick one category | Choose single-line, negative space, micro French, single-dot, or monochrome wash, not all five at once. |
| Match shape to design | Short squoval flatters micro details; longer almond suits a single dramatic stripe. |
| Stock basic tools | A dotting tool, striping brush, and nail tape cover most DIY minimalist looks. |
| Know your limits | Extensions, chrome, and sculpted accents are worth booking with a professional. |
| Book Foxy Nails for precision | Foxy Nails handles prep-heavy minimalist looks like micro French and glazed pearl finishes. |
Table of Contents
- 25 Minimalist Nail Art Ideas Worth Saving
- How to DIY Micro French, Dots, and Negative Space
- When to DIY vs. When to Book a Nail Salon
- Sources
25 Minimalist Nail Art Ideas Worth Saving
Minimalist design breaks down into five practical categories, according to a 2026 trend roundup: single-line accents, negative space, micro French, single-dot detail, and monochrome wash. Single-element looks like these tend to get saved and reshared more than busier designs, likely because the contrast between one clean detail and open nail bed photographs so well.
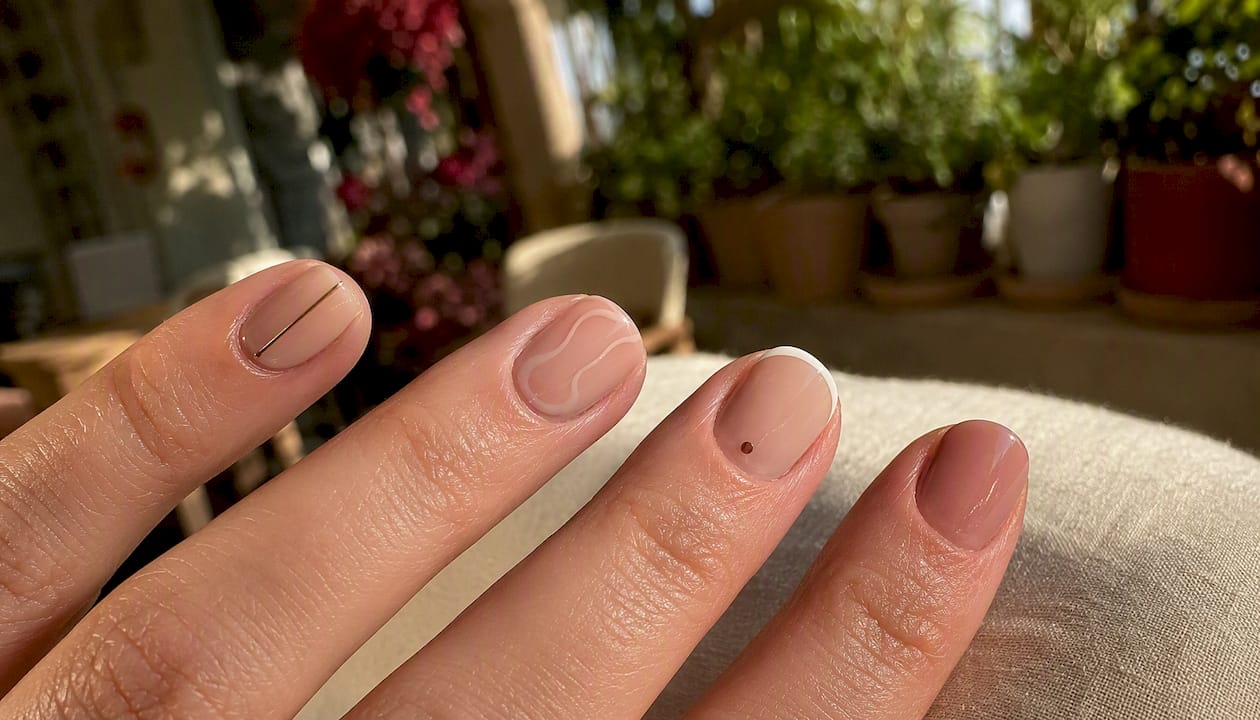
Short, soft shapes such as squoval or short almond give these designs their most flattering canvas, and a longer almond shape adds drama to a single architectural stripe if you want more length. Here are 25 looks organized by category, each with a quick tip for recreating it.
Single line and stripe:
- Thin gold pinline down the center of one nail. Use a striping brush loaded with metallic polish for a steady, single stroke.
- Vertical hairline stripe near the cuticle edge. Rest your pinky on the table for stability while you drag the brush.
- Two parallel lines spaced evenly across the nail. Mark spacing with tape before painting.
- Thin diagonal stripe across one accent nail. Angle the brush at 45 degrees for a crisp edge.
- Color-at-cuticle swipe in a contrasting shade. Paint a thin band, then seal with top coat to prevent lifting.
Negative space:
- Negative-space crescent at the base of the nail. Use tape to mask the unpainted curve.
- Negative-space half-nail with color only on the tip. Apply painter’s tape diagonally before polishing.
- Reverse French with color at the cuticle and bare tip. Flip your usual French technique upside down.
- Asymmetrical accent nail with an irregular unpainted patch. Freehand it for an organic, imperfect look.
- Barely-there ombré fading from sheer to bare. Dab with a cosmetic sponge for a soft gradient.
Micro French:
- Micro white French with a whisper-thin tip line. Use a striping brush instead of a French guide sticker.
- Single gold pinline French replacing the classic white tip. Trace just above the nail’s natural smile line.
- Sheer pink base with micro tip for a barely-there finish. Two thin coats of sheer polish keep it from looking chalky.
- Soft matte French with a satin top coat. Matte finishes hide small application flaws better than gloss.
- Lip-gloss wet look French over a nude base. Skip matte top coat and use high-shine gloss instead.
Single-dot and tiny detail:
- Tiny hearts at the cuticle on one accent nail. A dotting tool makes two overlapping teardrops.
- Minimal daisy dot with five tiny petals around a center dot. Practice on paper first if your hand is unsteady.
- Single pearl accent at the cuticle base. Set the pearl into wet top coat before it dries.
- Scattered gems on one accent nail only. Fewer than five keeps it minimal instead of maximalist.
- Tiny geometric triangle near the cuticle. Use striping tape to mask clean edges.
Monochrome and wash:
- Monochrome matte wash in a single muted tone across all ten nails. Two thin coats avoid streaking.
- Soft skittle nails in pastel tones, one shade per nail. Keep the palette tonal so it still reads minimal.
- Matte nude wash for an “your nails but better” finish. This is the core clean-girl look Vogue points to often.
- Glazed-donut pearl chrome applied sparingly. A soft diffusion of chrome powder keeps it from looking mirror-bright.
- Subtle glitter gradient at the tips only. Sponge on fine glitter polish and blend upward.
How to DIY Micro French, Dots, and Negative Space
The most common minimalist looks are also the most beginner-friendly, and Cosmopolitan notes that most people can recreate them at home with basic tools and a little patience.
Micro French tip:
- Apply a sheer nude or pale pink base coat, two thin layers.
- Load a thin striping brush with white or gold polish.
- Trace a hairline just above your natural smile line in one smooth pass.
- Clean up edges with a small brush dipped in polish remover.
- Seal with a glossy or matte top coat.
Single-dot accent:
- Paint your base color and let it dry fully.
- Dip a dotting tool (or the rounded end of a bobby pin) into your accent polish.
- Press once at the cuticle base without dragging.
- Repeat on one or two nails only, not all ten.
- Top coat once the dot sets.
Negative-space half-nail:
- Apply a clear base coat to protect the nail.
- Place a strip of nail tape diagonally or straight across where you want the bare section to start.
- Paint over the tape with your chosen color.
- Peel the tape while the polish is still slightly wet.
- Finish with top coat, avoiding the bare patch.
Tools worth keeping in your kit: a dotting tool or bobby pin, a thin striping or liner brush, nail tape, a cosmetic sponge for ombré blending, sheer jelly polishes, chrome or pearl powder for glazed finishes, and a durable top coat. An old eyeliner brush or a toothpick works fine as a stand-in for a striping brush when you’re practicing simple designs at home.
For wear, thin even layers beat one thick coat every time. Let each layer dry fully before the next, and always finish with a quality top coat to seal edges and prevent lifting.
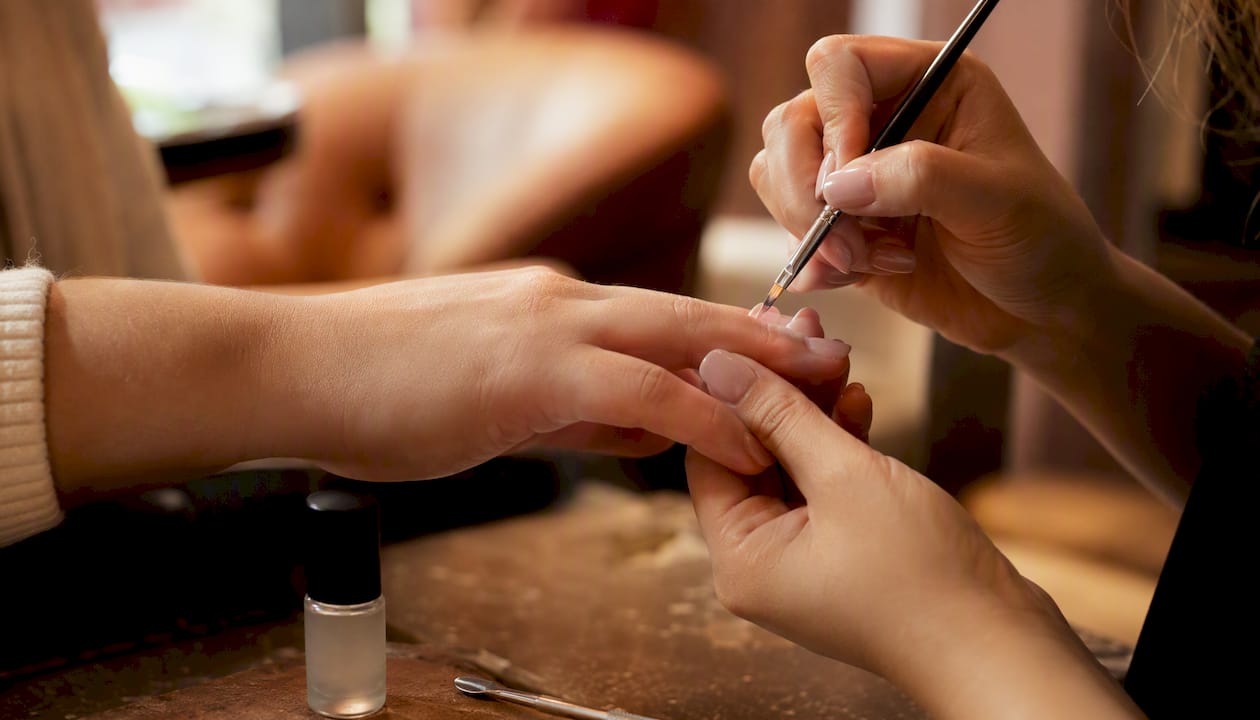
Pro Tip: For a reliable single pearl accent, place it into wet top coat rather than wet polish. The top coat grips better and keeps the pearl from sliding before it sets.
When to DIY vs. When to Book a Nail Salon
Book a salon when you want extensions, complex chrome or foil work, sculpted 3D elements, long-lasting gel or hard gel, or precise lines on longer nail shapes. These techniques need steady curing steps and tools most home kits don’t include.
Professionals bring consistent cuticle prep, gel and powder systems, fine detail brushes, and years of practice shaping the nail as a canvas. Because minimalist design relies on visible nail bed and sheer polish, even small surface bumps show through, which is why salon-level prep matters more here than in busier designs.
- DIY-safe: single dots, thin lines, negative-space tape looks, sheer washes.
- Pro-recommended: extensions, glazed chrome, sculpted accents, long-wear gel.
Pro Tip: If your DIY negative-space design keeps lifting at the edges, the base coat wasn’t cured or dried long enough before you applied color.
Why restraint reads as luxury
A clean, well-prepped nail bed says more about skill than ten decorated nails ever could. Minimalist manicures forgive nothing, which is exactly why they reward good prep.
Book the Minimalist Look Without the Guesswork
Foxy Nails is the shortcut for readers who love these ideas but don’t want to freehand a pinline or risk lifting on a negative-space design. Our techs specialize in the prep-heavy work that minimalist nails demand: cuticle shaping, sheer bases, and steady hands for micro French and glazed pearl finishes.
Book a manicure or gel manicure for classic minimalist looks, add a nail art detail for a single-dot or pinline accent, or ask about Gel X extensions if you want length before adding a minimalist design on top. Browse our video gallery to see these techniques in motion, then book your appointment when you’re ready for a precise, long-wearing version of the look you screenshotted.
Sources
- Quiet luxury nail trend — Bangstyle
- Clean Girl Nails Are Trending: Here Are 13 Minimalist Manicures to Try Now | Vogue
- Minimalist Nail Designs: 25 Less-Is-More Looks for 2026 | NailMuse
- Minimalist Nail Art That’s Easy to DIY, No Matter Your Skill Level | Cosmopolitan