
Hard gel nails are a non-soak-off nail enhancement cured under UV or LED light into a rigid, solvent-resistant polymer that files off rather than soaking in acetone. For most people wanting long extensions or maximum durability, booking a professional is the right call. DIY is realistic only if you already have e-file experience, proper dust extraction, and a calibrated lamp. Foxynailsreno in Reno, NV applies hard gel as part of its enhancement menu, and for anyone new to the system, a salon appointment is genuinely the safer starting point. The American Academy of Dermatology notes that allergic reactions to nail products, including gel systems containing HEMA, are a real risk when products contact skin repeatedly without proper technique.
Table of Contents
- What are hard gel nails, exactly?
- How is hard gel applied step by step?
- How is hard gel removed, and what aftercare matters?
- What are the pros, cons, and realistic lifespan of hard gel?
- How do you choose hard gel products or a salon service?
- Why book a professional for hard gel?
- Key Takeaways
- The case for hard gel that most guides miss
- Hard gel enhancements at Foxynailsreno
- Useful sources and further reading
What are hard gel nails, exactly?
Hard gel sits at the firm end of the builder gel spectrum. Glitterbels describes it as a dense, cross-linked polymer network that cures under UV or LED light and resists acetone, which is why removal requires filing rather than soaking. That rigidity is the whole point: it holds a sculpted shape under pressure, making it the go-to for longer lengths and structural builds.
The quick distinctions worth knowing:
- Hard gel vs. soft builder gel: Soft builder gels are soak-off products, meaning acetone dissolves them at removal. Hard gel is file-off. Soft gels flex more and feel closer to a natural nail; hard gel is stiffer and stronger.
- Hard gel vs. acrylic: Acrylic uses a liquid monomer mixed with powder polymer that air-hardens through a chemical reaction. Hard gel cures only under UV or LED. Acrylic carries a stronger odor during application; hard gel is relatively low-odor. Both are file-off, but acrylic can also be soaked in acetone with more time.
- Chemistry and allergy note: Many gel products contain HEMA (hydroxyethyl methacrylate), an allergen that can sensitize skin with repeated exposure. Some manufacturers now produce HEMA-free, TPO-free, and HPMA-free formulas specifically for sensitive clients and techs. If you have had reactions to gel products before, ask your technician about HEMA-free options before booking.
Kirsty Meakin’s breakdown puts it plainly: hard gel is typically used with forms for sculpted extensions, while softer builder gels handle overlays and versatility. The system you need depends almost entirely on what you want the nails to do.
How is hard gel applied step by step?
Professional hard gel application follows a specific sequence. Skipping or rushing any step, especially prep, is the primary reason sets lift prematurely.
- Cuticle prep: Push back and remove cuticle tissue from the nail plate. No product should touch living skin.
- Dehydrate: Apply a nail dehydrator to remove surface oils and moisture.
- Primer: Apply acid-free or acid primer depending on the client’s natural nail and the product system. Allow to dry fully.
- Rubber base or soft base coat: A thin layer bonds the hard gel to the natural nail and adds a flexible buffer. Cure per manufacturer instructions (typically 30–60 seconds under LED).
- Form or tip placement: For extensions, fit a nail form under the free edge or apply a tip. Forms allow full sculpting freedom; tips give a preset shape.
- Build and apex: Apply the first bead of hard gel at the stress point (apex), then work toward the free edge and back toward the cuticle. The apex is the thickest point, roughly one-third from the free edge, and carries the structural load.
- Flash cure: Cure for 5–10 seconds to set the bead in place before refining placement. This prevents runs and lets you adjust shape.
- Full cure: Cure the layer completely, typically 30–60 seconds under a quality LED lamp or up to 2 minutes under UV. Stellar Gel specifies 90 seconds per layer for a low-heat full cure.
- Second build layer if needed: For longer extensions, add a second layer and repeat the flash-then-full-cure sequence.
- Shape and refine: File the cured gel with a medium-grit file or e-file to refine the shape, thin the free edge, and smooth the surface. Remove the form.
- Finish: Buff lightly, apply a top coat, and cure to finish.
Tools and supplies checklist:
- UV or LED lamp (minimum 36W LED; check manufacturer lamp compatibility)
- Nail forms or pre-made tips
- Flat or oval gel brush for bead placement
- Nail dehydrator and primer
- Rubber or soft base coat
- Hard gel (pot or bottle, appropriate viscosity)
- Top coat (gel or hard gel self-shine)
- Medium and fine-grit hand files; e-file with appropriate bits (for experienced techs only)
- Lint-free wipe and cleanser for the inhibition layer
Pro Tip: Flash-cure each bead for 5–10 seconds before committing to a full cure. It locks placement, prevents product from migrating toward the cuticle, and gives you a chance to correct the apex position without trapping air.
Heat spikes during curing are a real discomfort issue, especially with thicker layers. Thinner applications and flash cures reduce the heat generated. For techs: ventilation and an N95 or equivalent mask during filing are not optional. Gel dust is a respiratory irritant.
How is hard gel removed, and what aftercare matters?
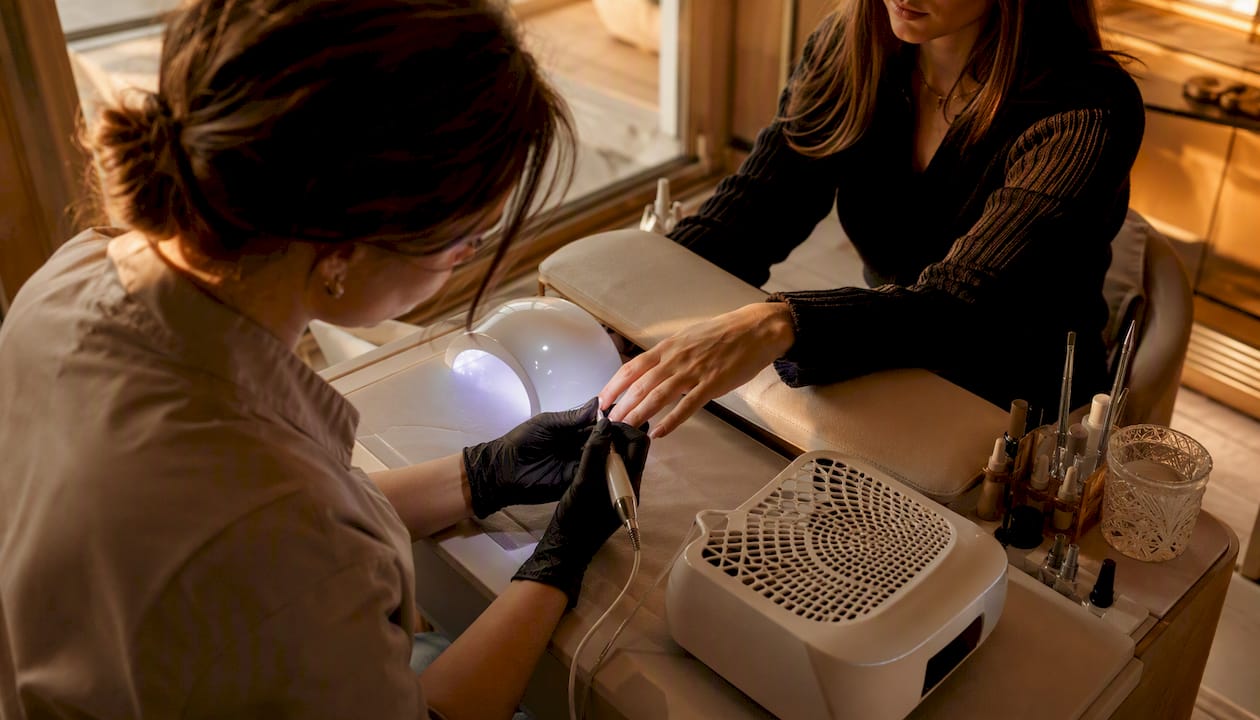
Hard gel does not soak off. That is the single most important thing to understand before you book or buy. Acetone will not dissolve it the way it dissolves soft gel or acrylic. Removal requires filing the product down to a thin layer above the natural nail, then carefully hand-filing the remainder.
Professional removal steps:
- Use an e-file (or coarse hand file) to reduce the bulk of the hard gel, working across the surface without touching the natural nail.
- File down to a thin, translucent layer. Stop before you reach the nail plate.
- Switch to a fine-grit hand file for the final layer to avoid heat and over-filing.
- Once the hard gel is fully removed, buff the natural nail gently to smooth any ridges.
- Apply cuticle oil and a strengthening treatment if the natural nail feels thin.
DIY removal is where most damage happens. Without an e-file and experience reading the nail plate through the product, it is easy to file through the natural nail. If you are not trained on an e-file, hand-filing a full hard gel set takes significant time and patience.
Fill and rebalance cadence:
- Most clients return every 2–3 weeks for a rebalance (fill), as natural nail growth creates a gap at the cuticle and shifts the apex position.
- Triggers for an earlier visit: visible lifting at the cuticle, a crack near the free edge, or a broken nail.
Aftercare tips:
- Apply cuticle oil daily. It keeps the surrounding skin healthy and reduces the chance of lifting at the edges.
- Avoid picking or peeling at the edges. Even a small lift creates a moisture trap.
- Wear gloves for prolonged water exposure and cleaning products.
- If a nail cracks but does not break off, see a technician for a repair rather than filing it yourself.
Dust control during filing matters for both techs and DIY users. A dust collector or filing in a well-ventilated space reduces inhalation risk.
What are the pros, cons, and realistic lifespan of hard gel?
Pros:
- Exceptional strength for long extensions and structural builds
- Holds a sculpted shape under daily stress better than soft gel
- Low odor during application compared to acrylic
- Crystal-clear finish with no cloudiness when quality products are used
- Compatible with nail art, encapsulation, and color overlays
Cons:
- File-off removal requires skill; DIY removal carries a real risk of natural nail damage
- Less natural flex than soft builder gel, which can feel stiff on shorter nails
- Requires a UV or LED lamp and more tools than a basic gel manicure
- Harder to self-correct during application once fully cured
- HEMA-containing formulas pose an allergy risk with repeated skin contact
Lifespan: A well-applied hard gel set typically lasts 3–4 weeks before the growth gap and apex shift require a rebalance. NailTechPedia’s comparison data places hard gel and acrylic in the same durability tier for lifespan, both ahead of soft builder gel for long extensions. What shortens wear time: inadequate prep (the most common cause of early lifting), thin apex placement, and high-impact activities like manual labor or heavy gym use.
Common failure modes:
- Lifting at the cuticle: Almost always a prep issue. Residual oil or moisture under the product breaks the bond.
- Crack at the free edge: Usually from impact or a thin free edge. A technician can repair this with a small bead of hard gel and a cure.
- Greenies (bacterial discoloration): Happen when moisture gets trapped under a lifted section. See a technician immediately; do not try to re-adhere a lifted nail at home.
For a quick at-home triage on a cracked nail: file the sharp edge smooth, apply a drop of nail glue if the crack is minor, and book a repair appointment within a few days. Do not apply more gel over a lifted or cracked section without professional assessment.
How do you choose hard gel products or a salon service?
Product label checklist:
- Confirm “file-off” or “non-soak-off” on the label. “Soak-off” means soft gel.
- Check viscosity description: “self-leveling” or “thixotropic” (or “thick/sculpting”).
- Look for HEMA, TPO, and HPMA declarations if sensitivity is a concern.
- Verify cure time per layer and lamp compatibility (not all gels cure correctly under every lamp).
- Check whether the product requires a specific base coat or primer from the same system.
DIY kit vs. salon appointment:
DIY hard gel kits are available and some experienced users get excellent results. But the skill threshold is real. You need: a calibrated LED or UV lamp, an e-file or significant hand-filing patience, dust extraction or ventilation, and enough experience to read the nail plate through the product during removal. DTK Nail Supply’s salon guide notes that many salons are shifting toward gel systems partly because clients perceive them as higher quality and more comfortable than acrylic, which also reflects the growing demand for professional gel application.
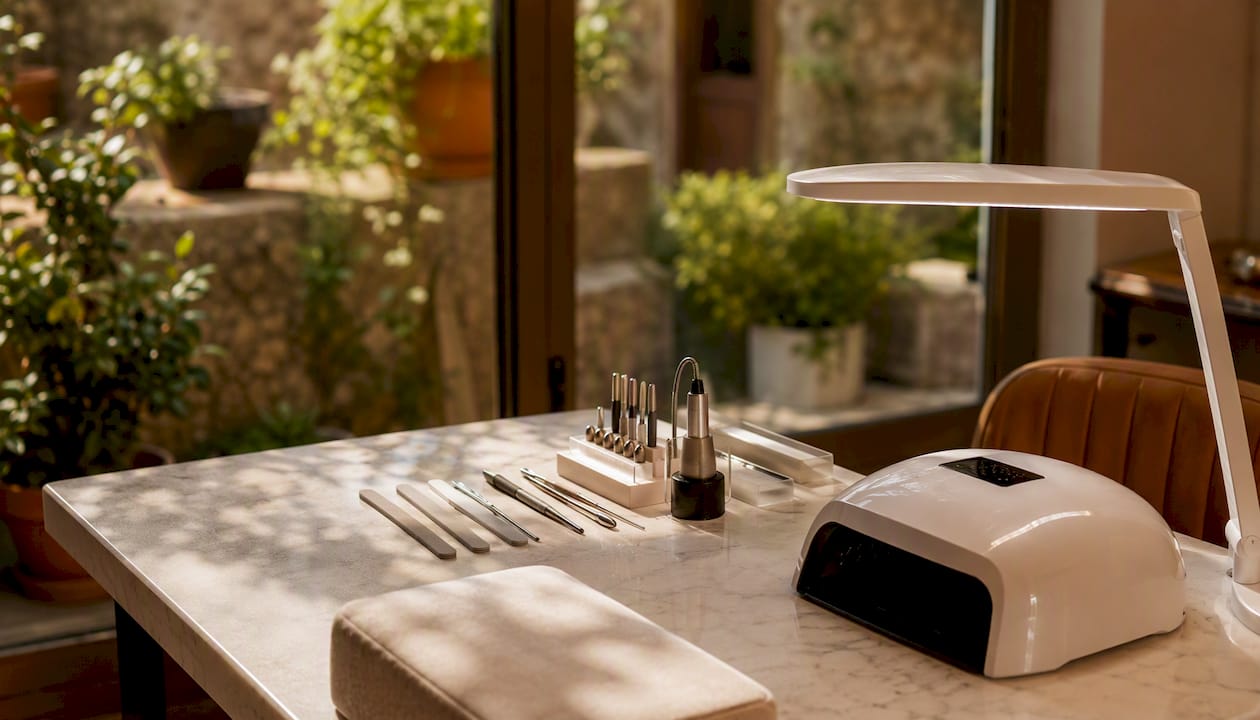
For a first-time hard gel set, a professional appointment is the practical choice. The cost of a damaged natural nail from a DIY removal gone wrong outweighs the savings on a kit.
Simple decision guide:
- No e-file experience → book a salon
- Wanting extensions longer than your natural nail → book a salon
- Experienced with gel overlays and have proper tools → DIY is reasonable for overlays
- Sensitive to nail products → ask about HEMA-free formulas before booking or buying
For readers weighing extension options, Foxynailsreno’s nail extensions guide covers which system fits different nail goals and lifestyles.
Why book a professional for hard gel?
Professional application reduces removal risk and produces structurally sound extensions that last. A trained technician reads the natural nail, places the apex correctly, and files the cured product without touching the nail plate. That combination is genuinely difficult to replicate at home without significant practice.
At Foxynailsreno, a hard gel enhancement appointment typically runs 60–90 minutes for a full set, including consultation, prep, build, and finish. Clients can expect:
- A brief consultation on shape, length, and color preferences
- Full prep (cuticle work, dehydration, primer) before any product touches the nail
- Apex placement and curing with attention to heat management
- Shaping and finishing to the client’s chosen nail shape
- Aftercare instructions for maintaining the set between visits
Foxynailsreno uses hard gel as part of its enhancement menu alongside acrylic, Gel X, and dipping powder, which means the technician can recommend the right system for your natural nail condition and lifestyle rather than defaulting to one product. Clients with bendy or thin natural nails often get better long-term results from hard gel than from softer systems, because the rigidity compensates for the nail’s lack of natural structure. For a look at the salon’s finished work and techniques, the nail designs gallery shows the range of hard gel finishes available.
Key Takeaways
Hard gel nails are the strongest gel option for long extensions, but file-off removal means professional application and removal are the right choice for most people.
| Point | Details |
|---|---|
| Hard gel is file-off | Acetone will not remove it; filing is required, and DIY removal risks thinning the natural nail. |
| Lifespan is 3–4 weeks | A well-applied set typically lasts 3–4 weeks before a rebalance is needed. |
| Viscosity choice matters | Use thixotropic gel for structure and free-edge armoring; self-leveling for thin overlays. |
| HEMA-free options exist | If you have had gel reactions before, ask specifically for HEMA-, TPO-, and HPMA-free formulas. |
| Foxynailsreno for professional sets | Foxynailsreno in Reno, NV applies hard gel enhancements with full prep, apex build, and aftercare guidance. |
The case for hard gel that most guides miss
Hard gel has a reputation problem in some corners of the nail community: it is labeled as “too advanced” or “only for pros,” which pushes a lot of clients toward softer systems that are not actually the right fit for their nails. The truth is more nuanced.
For clients with naturally flexible, bendy nails, soft builder gel often fails faster than hard gel would, because the product flexes with the nail and eventually lifts or cracks at the stress point. Hard gel’s rigidity is not a flaw in that scenario. It is the fix. The nail needs something that holds its shape independently of what the natural nail does underneath.
What I see repeatedly at the salon: clients who have tried soft gel overlays, experienced early lifting or breakage, and assumed their nails just “can’t hold product.” In most cases, the issue was system mismatch, not nail condition. Switching to hard gel, with proper prep and apex placement, changes the result entirely.
The removal concern is real but manageable. The key is not avoiding hard gel; it is making sure removal happens in a salon with the right tools. A technician who knows where the nail plate ends and the product begins will not damage your nails. The damage happens when people try to rush removal at home with a coarse file and no e-file experience.
Hard gel is not for everyone. But it is underused for the clients who would genuinely benefit from it, and oversold as a DIY option for people who are not yet ready for the removal process. The right question is not “is hard gel too advanced?” It is “do I have the tools and experience to remove it safely?”
Hard gel enhancements at Foxynailsreno
Foxynailsreno offers hard gel nail enhancements as a dedicated service in Reno, NV, built around the full professional workflow: consultation, cuticle prep, dehydration and primer, apex build with cure-time management, shaping, and a finished top coat. You get a technician who matches the system to your natural nail condition, not just the look you want.

A full hard gel set at Foxynailsreno typically takes 60–90 minutes. Pricing varies by length and design complexity, and the team will walk you through options at your consultation. If you are coming in for the first time, bring reference photos of the shape and length you want. The salon also handles hard gel fills and rebalances for existing sets, so you can maintain your extensions without switching salons mid-cycle.
Ready to book your nail extension appointment or browse the full service menu? Foxynailsreno is at 2840 in Reno, NV. Book online or call to check availability.
Useful sources and further reading
The following sources informed this article and are worth bookmarking if you want deeper technical detail on hard gel products and system comparisons:
- Builder Gel vs Hard Gel: The Complete Comparison (2026) | Builder Gel Nails
- Hard Structure Gel Clear 3-Free — HEMA-Free 1-Step Builder Gel | Stellar Gel – Stellar Gel™
- Builder Gel vs Hard Gel vs Acrygel: What’s the difference? | Kirsty Meakin
- Builder Gel vs Hard Gel: What’s the difference? | Glitterbels
- Builder Gel vs Hard Gel vs Acrylic: Strength, Flexibility, and Application | NailTechPedia
- What Is Hard Builder Gel? Everything you need to know about this viral nail product! | Karanailedit
- Builder Gel vs Acrylic: Which Is Actually Better for Salons? — DTK Nail Supply