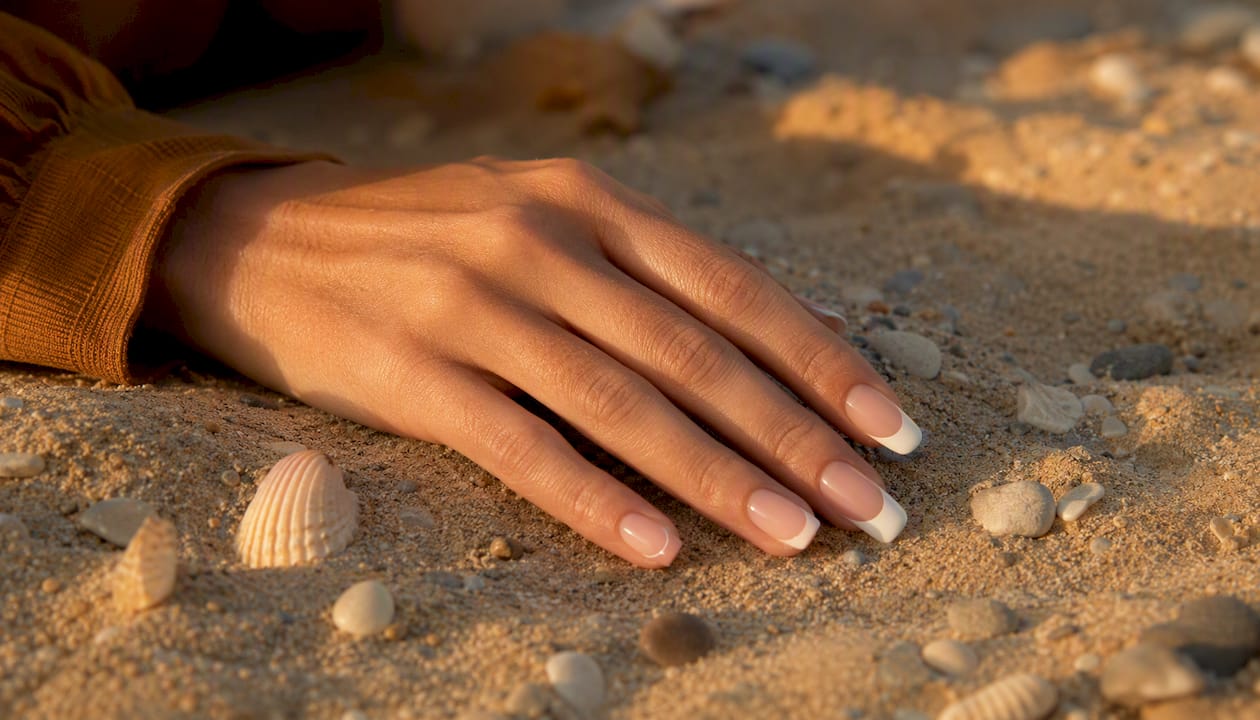
A French manicure pairs a sheer or neutral base with a defined tip, most commonly a soft pink or nude base under a clean white arc. Jeff Pink, founder of Orly, created the original look in the mid-1970s as a film-set solution: one nail style that worked with any costume. The look stuck because it works on every skin tone, nail length, and occasion.
Your fastest at-home route:
- Prep: file, push back cuticles, apply base coat
- Color: two thin coats of a sheer pink or nude (Essie’s “Ballet Slippers” is a go-to)
- Tips: paint a white arc freehand or use nail guides
- Finish: seal with a clear top coat, clean up edges with a small brush dipped in acetone
Prefer a professional result? Foxynailsreno in Reno, NV offers classic and gel French services with precise freehand tips and durable overlays.
Table of Contents
- 8 French manicure styles worth trying right now
- How to do a classic French manicure at home, step by step
- What to buy: tools and products for a reliable French manicure
- How to keep your French manicure healthy and long-lasting
- When to DIY and when to book a salon
- Key Takeaways
- What a nail tech wants you to know before your appointment
- Foxynailsreno offers the professional French manicure Reno clients keep coming back for
- Sources and further reading
8 French manicure styles worth trying right now
The classic French tip has evolved well past its original white-on-pink formula. According to Allure editors and nail artists, modern versions are defined by personalization over rigid perfection. Here are eight looks that cover the full range, from timeless to trend-forward.
- Classic French: Sheer pink base, crisp white tip. Still the most versatile option for interviews, weddings, and everyday wear. Works on any length.
- Micro French: A hairline white tip, barely 1–2 mm wide. Flatters short nails because it elongates without overwhelming. Pairs beautifully with gel for a clean, glass-like finish.
- Colored tips: Swap white for soft ecru, champagne, lavender, or even a deep burgundy. Tonal pairings (nude base + warm beige tip) read as contemporary rather than retro.
- Reverse French: The color sits at the base of the nail instead of the tip, creating a crescent moon effect at the cuticle. Striking on medium to long nails; harder to execute on short ones.
- Ombré fade: White or color blends into the base through a sponge or gradient brush technique. Softer than a hard tip line, and trending as a textural alternative to strict perfection.
- Chrome or glazed tips: A chrome powder applied over the tip creates a mirror or “glazed donut” finish. Best executed in gel, since regular polish won’t hold chrome powder reliably.
- Negative-space French: The tip line is drawn in color, but the center of the nail stays bare or lightly tinted. Graphic and minimal at the same time.
- Graphic arcs: Exaggerated, hand-painted tip lines in bold colors or metallics. This is the art-forward end of the spectrum, best left to a nail tech unless you have a steady hand and a thin detail brush.
Pro Tip: Designers recommend tailoring tip width to nail length. Short nails look best with micro or hairline tips; longer nails can carry a wider arc without looking heavy.
How to do a classic French manicure at home, step by step
Getting clean results at home comes down to prep and patience. Rushing either one is where most DIY attempts fall apart.
1. Prep your nails
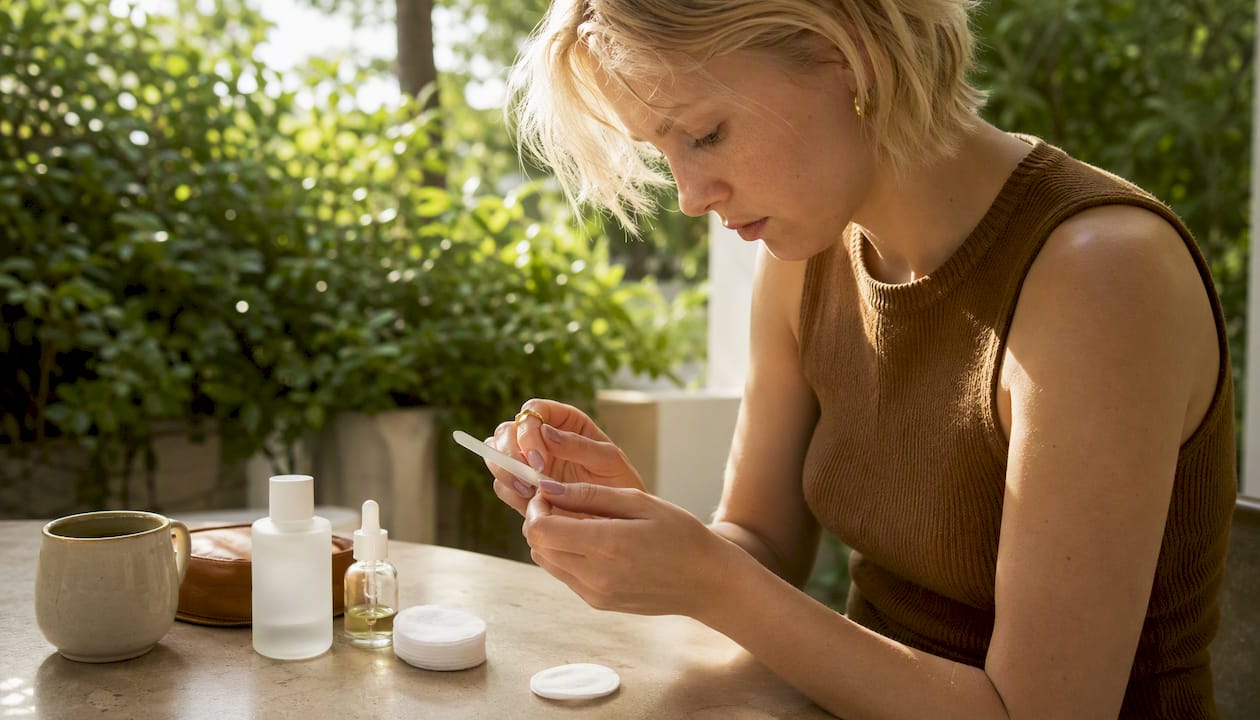
Remove any old polish completely. Trim nails straight across, then round the corners gently. Use a glass or crystal file (240+ grit) rather than a coarse emery board. Glass files seal the nail edge instead of tearing it, which reduces peeling and splitting. File in one direction only. Soak fingertips in warm water for two minutes, then push cuticles back gently with a rubber-tipped pusher. Never cut them. Wipe nails with a lint-free pad and a drop of nail cleanser or rubbing alcohol to remove oils.
2. Apply base coat
One thin coat of base coat protects the nail plate and helps polish adhere. Let it dry fully, at least two minutes.
3. Apply your sheer base color
Two thin coats of a sheer pink or nude. Essie’s “Ballet Slippers” and Orly’s “Bare Rose” are reliable drugstore picks. Thin coats dry faster and are less likely to bubble or streak. Wait two minutes between coats.
4. Paint the tips
This is the step most people rush. Two approaches:
- Nail guides: Press a guide strip just below where you want the tip line, paint the white polish over it, wait 60 seconds, then peel the guide off slowly. Clean and consistent.
- Freehand: Hold the brush at a slight angle and use the natural curve of the bristles to follow the smile line. Start from one side, sweep to the center, then repeat from the other side. One coat is usually enough for white.
5. Clean up and seal
Dip a small detail brush or a toothpick in acetone and trace along the smile line to sharpen any wobbly edges. This single step is what separates a polished result from an amateur one. Once dry, apply one coat of clear top coat over the entire nail, including the tip edge, to lock everything in.
Pro Tip: After applying your top coat, run the brush along the very tip of the nail (the free edge) to seal it. That extra pass is what prevents tip chipping, which is where wear almost always starts.
Wear time for a regular polish French mani is generally about a few days, with a top coat refresh recommended to extend wear.
What to buy: tools and products for a reliable French manicure
You don’t need a full salon kit. A focused set of quality basics will outperform a drawer full of mediocre products.
Essential kit:
- Base coat: Protects the nail and improves adhesion. Essie’s “Here to Stay” base coat is widely available and performs well.
- Sheer pink or nude polish: Orly and Essie both offer sheer formulas designed for French manicures. Look for “sheer” or “barely-there” in the shade description.
- White tip polish: Choose a formula with a thin, flat brush for better arc control. Orly’s “French Tip White” is a reliable option.
- Thin detail brush: A size 0 or 00 nail art brush lets you clean up the smile line with precision. Available at most beauty supply stores.
- Nail guides: Adhesive strips that create a clean tip line without freehand skill. Worth keeping in your kit even if you eventually go freehand.
- Top coat: A fast-dry top coat (Essie’s “Good to Go” works well) extends wear and adds shine.
- Glass or crystal file: As noted above, these seal the edge rather than shredding it.
- Cuticle oil: Apply after every manicure and daily between appointments.
Drugstore vs. salon-grade: Drugstore polishes like Essie and Orly perform well for regular manicures and typically last five to seven days. Gel polish and builder overlays (hard gel, Gel X, BIAB) require UV or LED curing and last two to four weeks, but removal needs to be done carefully to avoid thinning the nail plate. If you want gel longevity at home, invest in a quality LED lamp and a proper gel removal kit with foil wraps.
A note on acetone: Full-strength acetone removes regular polish and gel efficiently, but repeated exposure dries the skin and nail plate. Use it for clean-up and removal, then follow immediately with cuticle oil and hand cream. For sensitive nails, non-acetone removers work for regular polish, though they take longer. Safe removal practices for beauty treatments, whether for nails or keratin bond removal, follow the same principle: patience over force.
How to keep your French manicure healthy and long-lasting
Nail health and manicure longevity are the same problem. A nail plate that’s dry, peeling, or thin won’t hold polish well and will chip faster.
“Think of cuticle oil as barrier care, not just a cosmetic step. Applied consistently, it reduces peeling and increases the nail plate’s flexibility — the same way a moisturizer protects skin.” — Vogue, on nightly nail oiling
The American Academy of Dermatology recommends keeping nails clean and dry, practicing gentle cuticle care, and avoiding using nails as tools. The Mayo Clinic adds that repeated or prolonged water contact can split nails, so wearing cotton-lined rubber gloves for dishes and cleaning is worth the habit.
For cuticle oil, apply it when nails are slightly damp (right after washing hands) for better absorption. Mid-day reapplication keeps the nail plate flexible throughout the day.
| Habit | Why it matters | Source |
|---|---|---|
| Apply cuticle oil on slightly damp nails | Improves absorption and hydration vs. dry application | NailMuse |
| Use a glass/crystal file (240+ grit) | Seals the nail edge, reduces splitting and peeling | NPR |
| Wear gloves for wet tasks | Prevents water-related splitting and polish lifting | Mayo Clinic |
| Keep nails dry and clean | Reduces bacterial growth under the nail | AAD |
For brittle nails during recovery, some studies suggest biotin supplements may improve nail strength in certain cases. It’s worth discussing with a dermatologist if peeling or brittleness persists after a gel or enhancement removal.
Removal safety: For regular polish, a cotton pad soaked in acetone and held for 20–30 seconds dissolves most formulas cleanly. For gel, use foil wraps with acetone-soaked cotton for 10–15 minutes. Never peel or force gel off. Forced removal strips the top layers of the nail plate and can cause thinning that takes months to grow out.
When to DIY and when to book a salon
Most people can do a clean regular-polish French manicure at home with practice. The decision shifts when you factor in longevity, nail condition, and the complexity of the look you want.
Book a salon when:
- You want gel or builder overlay longevity (two to four weeks) without the risk of DIY removal damage
- Your nails are thin, peeling, or recovering from previous enhancements
- You’re preparing for a wedding, event, or photo shoot where precision matters
- You want a style like chrome tips, graphic arcs, or reverse French that requires a steady professional hand
- You’ve had a bad DIY removal experience and need a tech to assess the nail plate
DIY works well when:
- You’re comfortable with regular polish and have a steady hand
- You want a quick refresh between salon visits
- You’re experimenting with new colors or tip styles before committing to gel
What to expect at a salon: A professional French manicure appointment typically runs 45–75 minutes for a gel service, including prep, shaping, two to three color coats, and curing. Prices vary widely by market and service type. In Reno, a basic gel French manicure generally falls in the $45–$75 range, though pricing depends on nail length, design complexity, and the salon. Always ask about the removal method, which products they use, and what aftercare they recommend before your appointment.
Questions worth asking your nail tech: How do you remove gel without thinning the nail? Do you use a glass file or emery board? What top coat do you use, and how long should I expect it to last?
Key Takeaways
A French manicure lasts longest and looks cleanest when prep, the right tools, and consistent nail care habits work together.
| Point | Details |
|---|---|
| Prep is the foundation | Filing with a glass file and clean, oil-free nails before polish dramatically improves adhesion and wear. |
| Tip clean-up makes the difference | A small detail brush dipped in acetone along the smile line separates a polished result from an amateur one. |
| Cuticle oil is barrier care | Apply on slightly damp nails daily to improve absorption, reduce peeling, and extend manicure life. |
| Gel needs careful removal | Never peel gel off; foil-wrap removal prevents the nail plate thinning that causes long-term brittleness. |
| Foxynailsreno for pro results | Foxynailsreno in Reno, NV offers classic and gel French manicures with precise freehand tips and safe removal. |
What a nail tech wants you to know before your appointment
The biggest gap between a great salon French manicure and a disappointing one isn’t the polish. It’s what happens before the first coat goes on.
Prep is where the result is decided. A nail tech spends a significant portion of the appointment on shaping, cuticle care, and surface prep because polish applied over lifted edges, oily nails, or uneven surfaces will chip within days regardless of the brand used. When clients skip prep at home before a DIY attempt, they’re skipping the step that matters most.
Two things to avoid before a salon appointment: applying heavy hand cream in the hour before (it leaves a residue that interferes with adhesion), and attempting to remove your own gel at home if you’re not confident in the process. Forced or incomplete gel removal is the most common reason a client arrives with a thinned, uneven nail plate that limits what a tech can do.
At Foxynailsreno, the approach to French services focuses on protecting the natural nail during every step, from the file choice to the removal method. You can browse nail style examples and in-salon video demos before booking to get a clear sense of the finish and technique. For clients in Reno who want a nail design tailored to their hand shape and nail length, that kind of pre-visit research makes the consultation faster and the result closer to what you had in mind.
A standard gel French service at a quality salon typically runs 45–75 minutes, depending on nail length and complexity. Arrive with bare nails or regular polish (not gel) if possible, and skip the hand lotion that morning.
Foxynailsreno offers the professional French manicure Reno clients keep coming back for
Getting a clean, long-lasting French manicure at home takes practice and the right kit. For clients who want a precise result without the learning curve, Foxynailsreno delivers it in a single appointment.
The salon offers classic regular-polish French manicures, gel French nail services with two to four weeks of wear, builder and hard gel overlays for added strength, safe gel removal, and nail-health add-ons like cuticle care and conditioning treatments. Family appointments are welcome, including gentle services for kids.
When booking for a French manicure, mention the style you want (classic, micro, colored tips, or gel), your current nail condition, and whether you need removal. The team will match the service to your nails rather than a one-size approach.
Book your French manicure appointment at Foxynailsreno and come in with bare or regular-polish nails for the smoothest start.
Sources and further reading
Authoritative references used to build this article:
- American Academy of Dermatology — 11 dermatologists’ tips for healthy nails: Board-certified dermatologist guidance on nail care basics, cuticle care, and maintenance.
- Mayo Clinic — Fingernails: Do’s and don’ts for healthy nails: Practical nail hygiene rules including water exposure, moisturizing, and trimming technique.
- NPR — 7 ways to keep your nails healthy and strong: Covers glass file benefits, cuticle care, and nail health habits backed by dermatologist input.
- Allure — French manicure trends of 2026: Nail artist and editor perspectives on modern French variations, personalization, and current trends.
- Vogue — Nail oiling as barrier care: Frames cuticle oiling as protective nail care, with input from nail professionals.
- Orly — Brand history and origin of the French manicure: Documents Jeff Pink’s creation of the original French manicure in the mid-1970s.